How to paint 3D printed figures — a beginner's guide that actually works
Step-by-step guide to painting 3D printed PLA figures and miniatures — sanding, priming, base coats, washes, dry brushing and sealing, with the paints and tools you can buy in India.
On this page
A plain grey or black 3D printed figure looks good on a shelf. A painted one looks like it came out of a collector's cabinet. The good news is that painting a printed figure is far more forgiving than it looks, and a few simple techniques get you most of the way there.
This guide is for complete beginners painting PLA figures and minis.
What you need
You don't need an expensive kit. For a first figure:
- Acrylic paints: a small set of hobby or artist acrylics. Hobby brands sold for miniature painting are ideal, but decent artist acrylics from any Indian art supply shop work too.
- Primer: a spray-can primer in grey, black or white. Automotive filler primer from a hardware or car accessory shop works well on PLA.
- Brushes: one medium flat brush, one small round brush, and one very fine detail brush. Synthetic is fine.
- Sandpaper: 220, 400 and 800 grit.
- A wash: a thin dark paint that flows into recesses. You can make your own by thinning dark brown or black acrylic heavily with water and a drop of dish soap.
- Matte varnish: a spray or brush-on sealer.
- A cup of water, paper towels, and an old tile or plate as a palette.
Step 1: Clean up the print
Remove any support marks with a hobby knife and sand them smooth. Sand in circles, starting at 220 grit and working up to 400. You don't have to remove every layer line. Primer and paint hide more than you'd expect, especially on figures printed at fine layer heights.
Wash the figure in lukewarm soapy water to remove dust and finger grease, then let it dry completely.
Step 2: Prime
Primer gives paint something to grip. Acrylic straight on bare PLA tends to peel.
- 1.Work outdoors or in a well-ventilated space.
- 2.Hold the can 20–30 cm away and spray in light, sweeping passes.
- 3.Several thin coats are better than one thick one. Thick primer fills in detail.
- 4.Let it dry for a few hours, ideally overnight.
Colour choice: black primer makes dark, moody figures easy and hides missed spots in recesses. White primer makes bright colours pop. Grey is the safe middle.
Filler primer also hides layer lines. Prime, sand lightly with 800 grit, and prime again for a very smooth surface.
Step 3: Base coats
Paint the main colour of each area: cloak, skin, armour, boots. Thin the paint with a little water until it flows like milk, not yogurt. Two thin coats always look better than one thick one, which hides detail and leaves brush marks.
Don't worry about neatness at the edges yet. You'll tidy up later.
Step 4: Wash
This is the step that makes beginners' work look good. Brush the thin, dark wash over an area. It runs into the recesses, like folds of fabric, gaps in armour and eye sockets, creating instant shadows and depth.
Let it dry completely. It will look dirty at first. That's normal.
Step 5: Dry brushing
Dry brushing adds highlights to raised edges.
- 1.Dip an old flat brush in a lighter version of the base colour.
- 2.Wipe almost all the paint off onto a paper towel, until the brush looks nearly dry.
- 3.Flick it lightly across the raised areas.
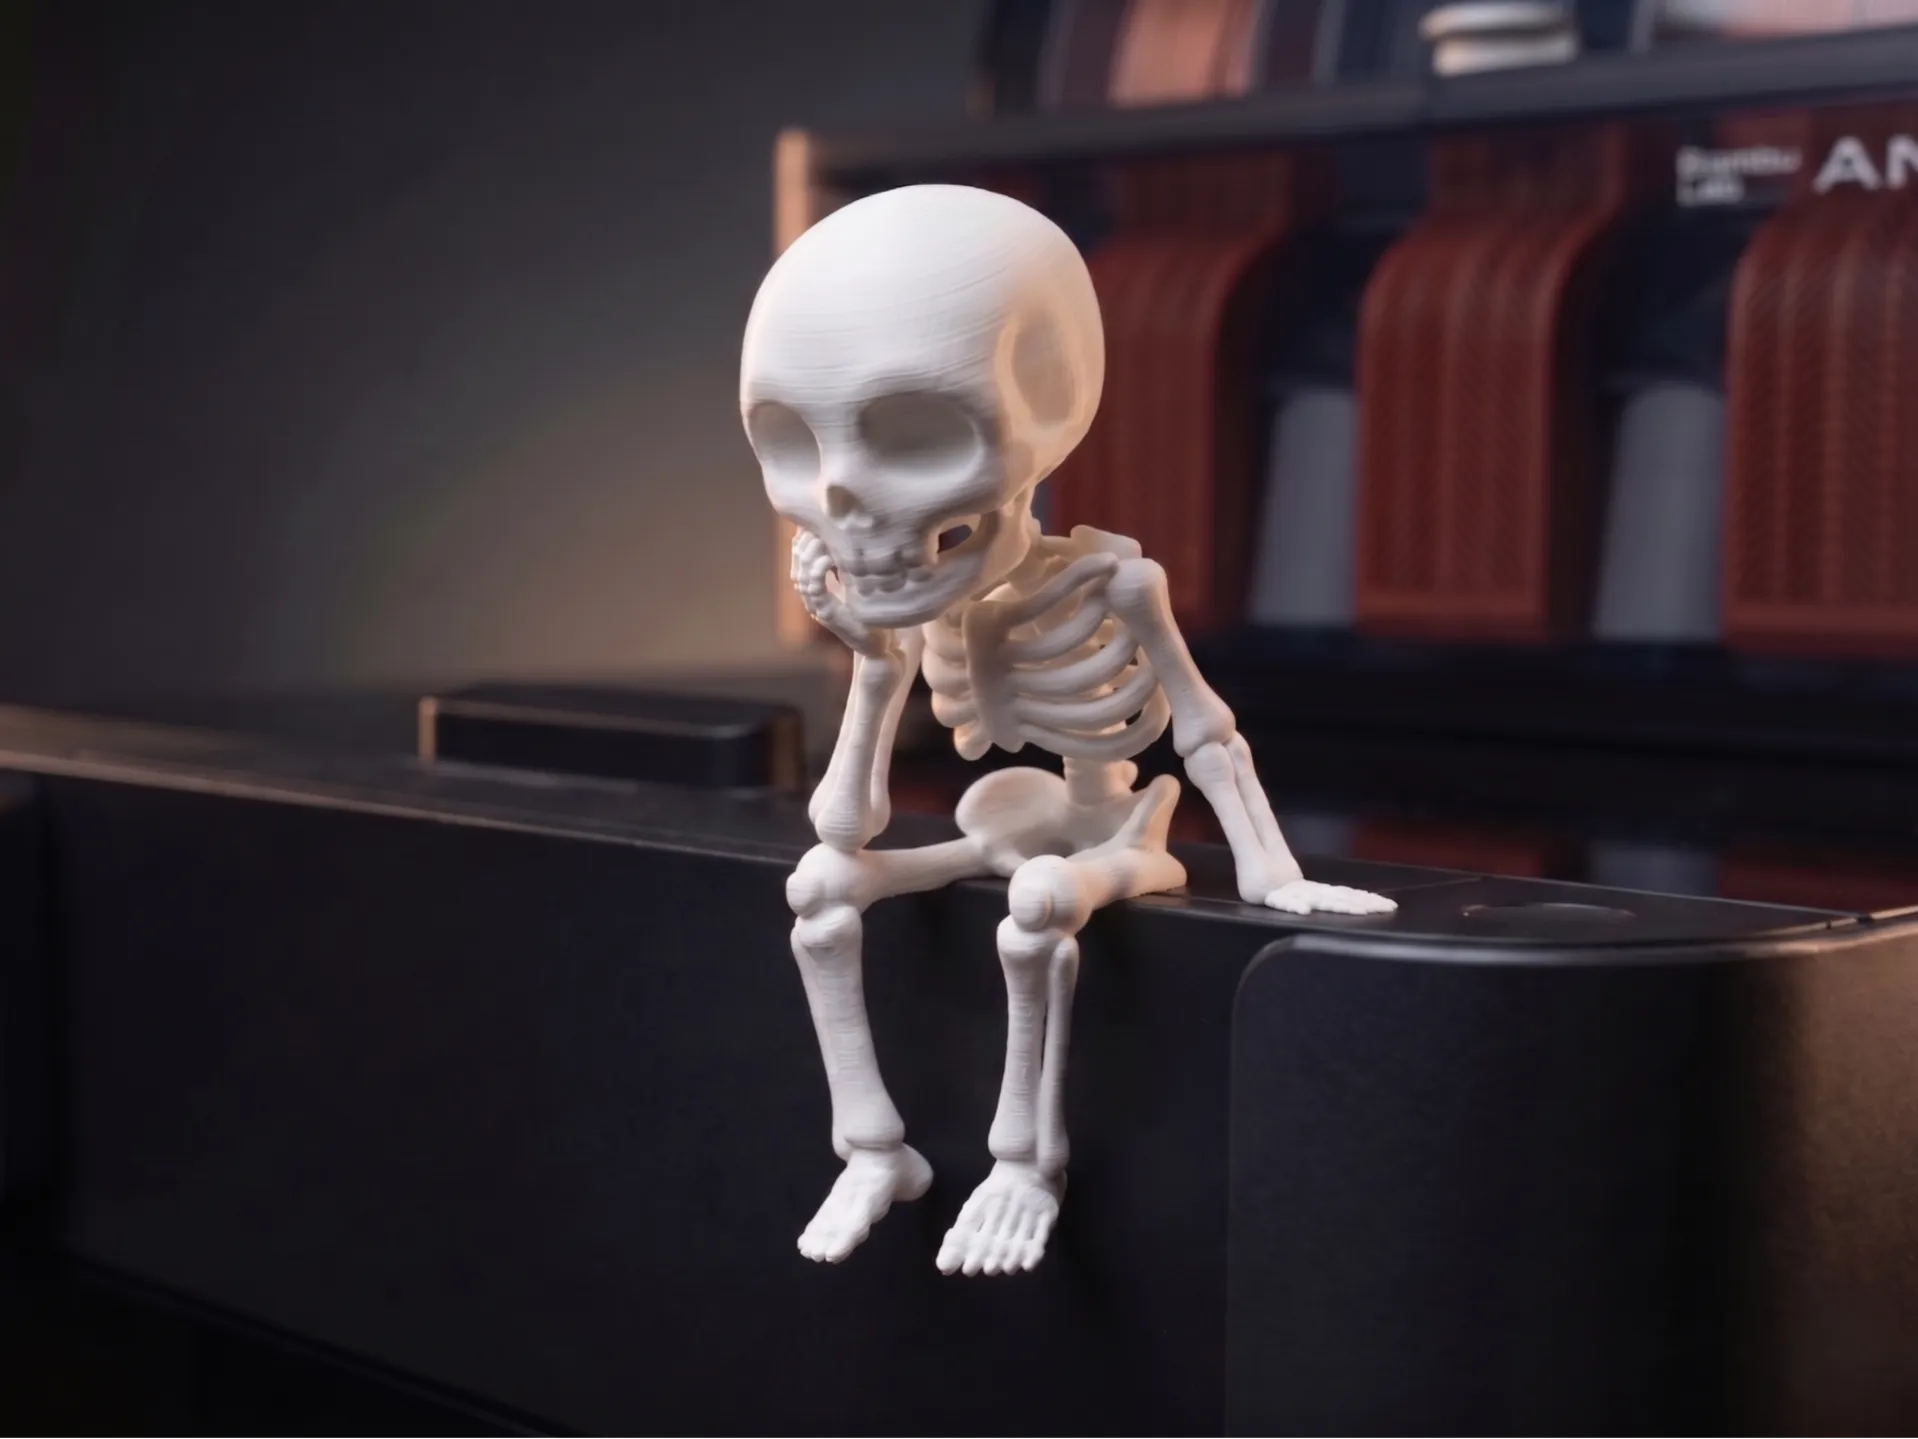
Paint catches only on the high points: edges of armour, knuckles, folds of cloth. Combined with the wash, this gives you shading and highlights with almost no skill required. It works especially well on skeleton pieces like Thinker Skeleton Desk Pet.
Step 6: Details
With the fine brush, paint eyes, belts, buckles, lettering and any small accents. Rest your wrists together or against the table to steady your hand. Metallic paint on buckles and weapon edges adds a lot for very little effort.
Step 7: Seal
A coat of matte varnish protects the paint from handling and dust and gives an even finish. Gloss varnish can be used selectively on eyes, wet surfaces or armour to make them catch the light.
Good first figures to paint
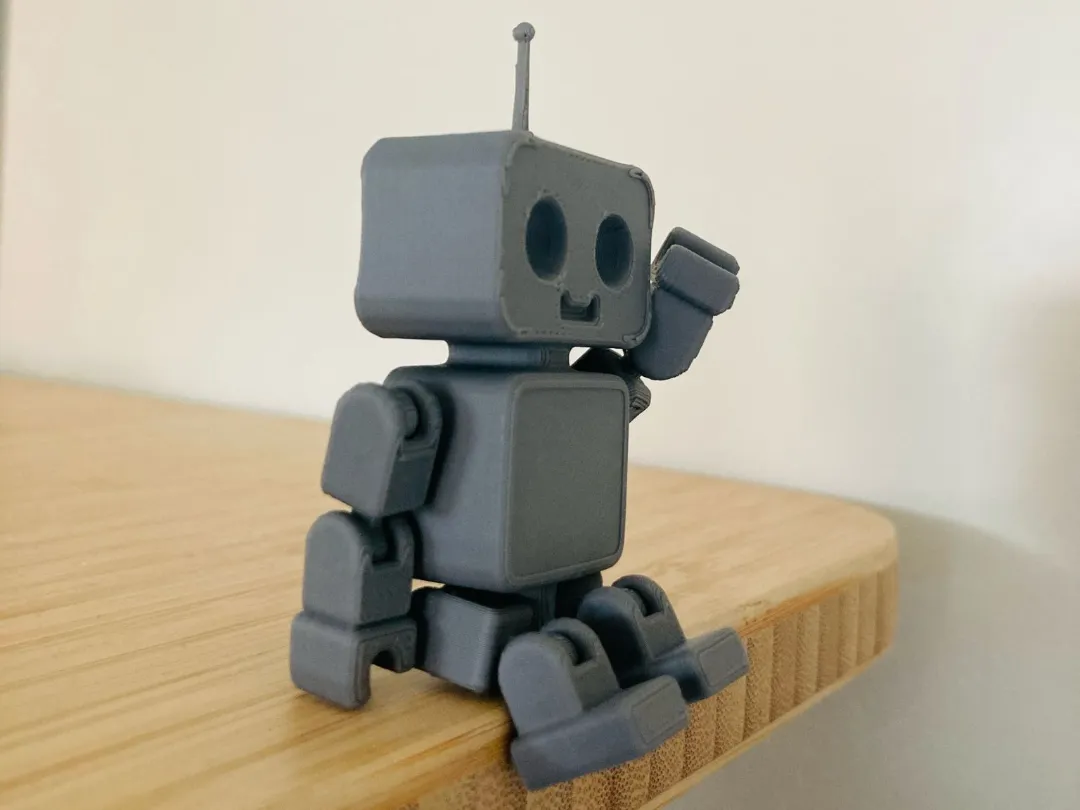
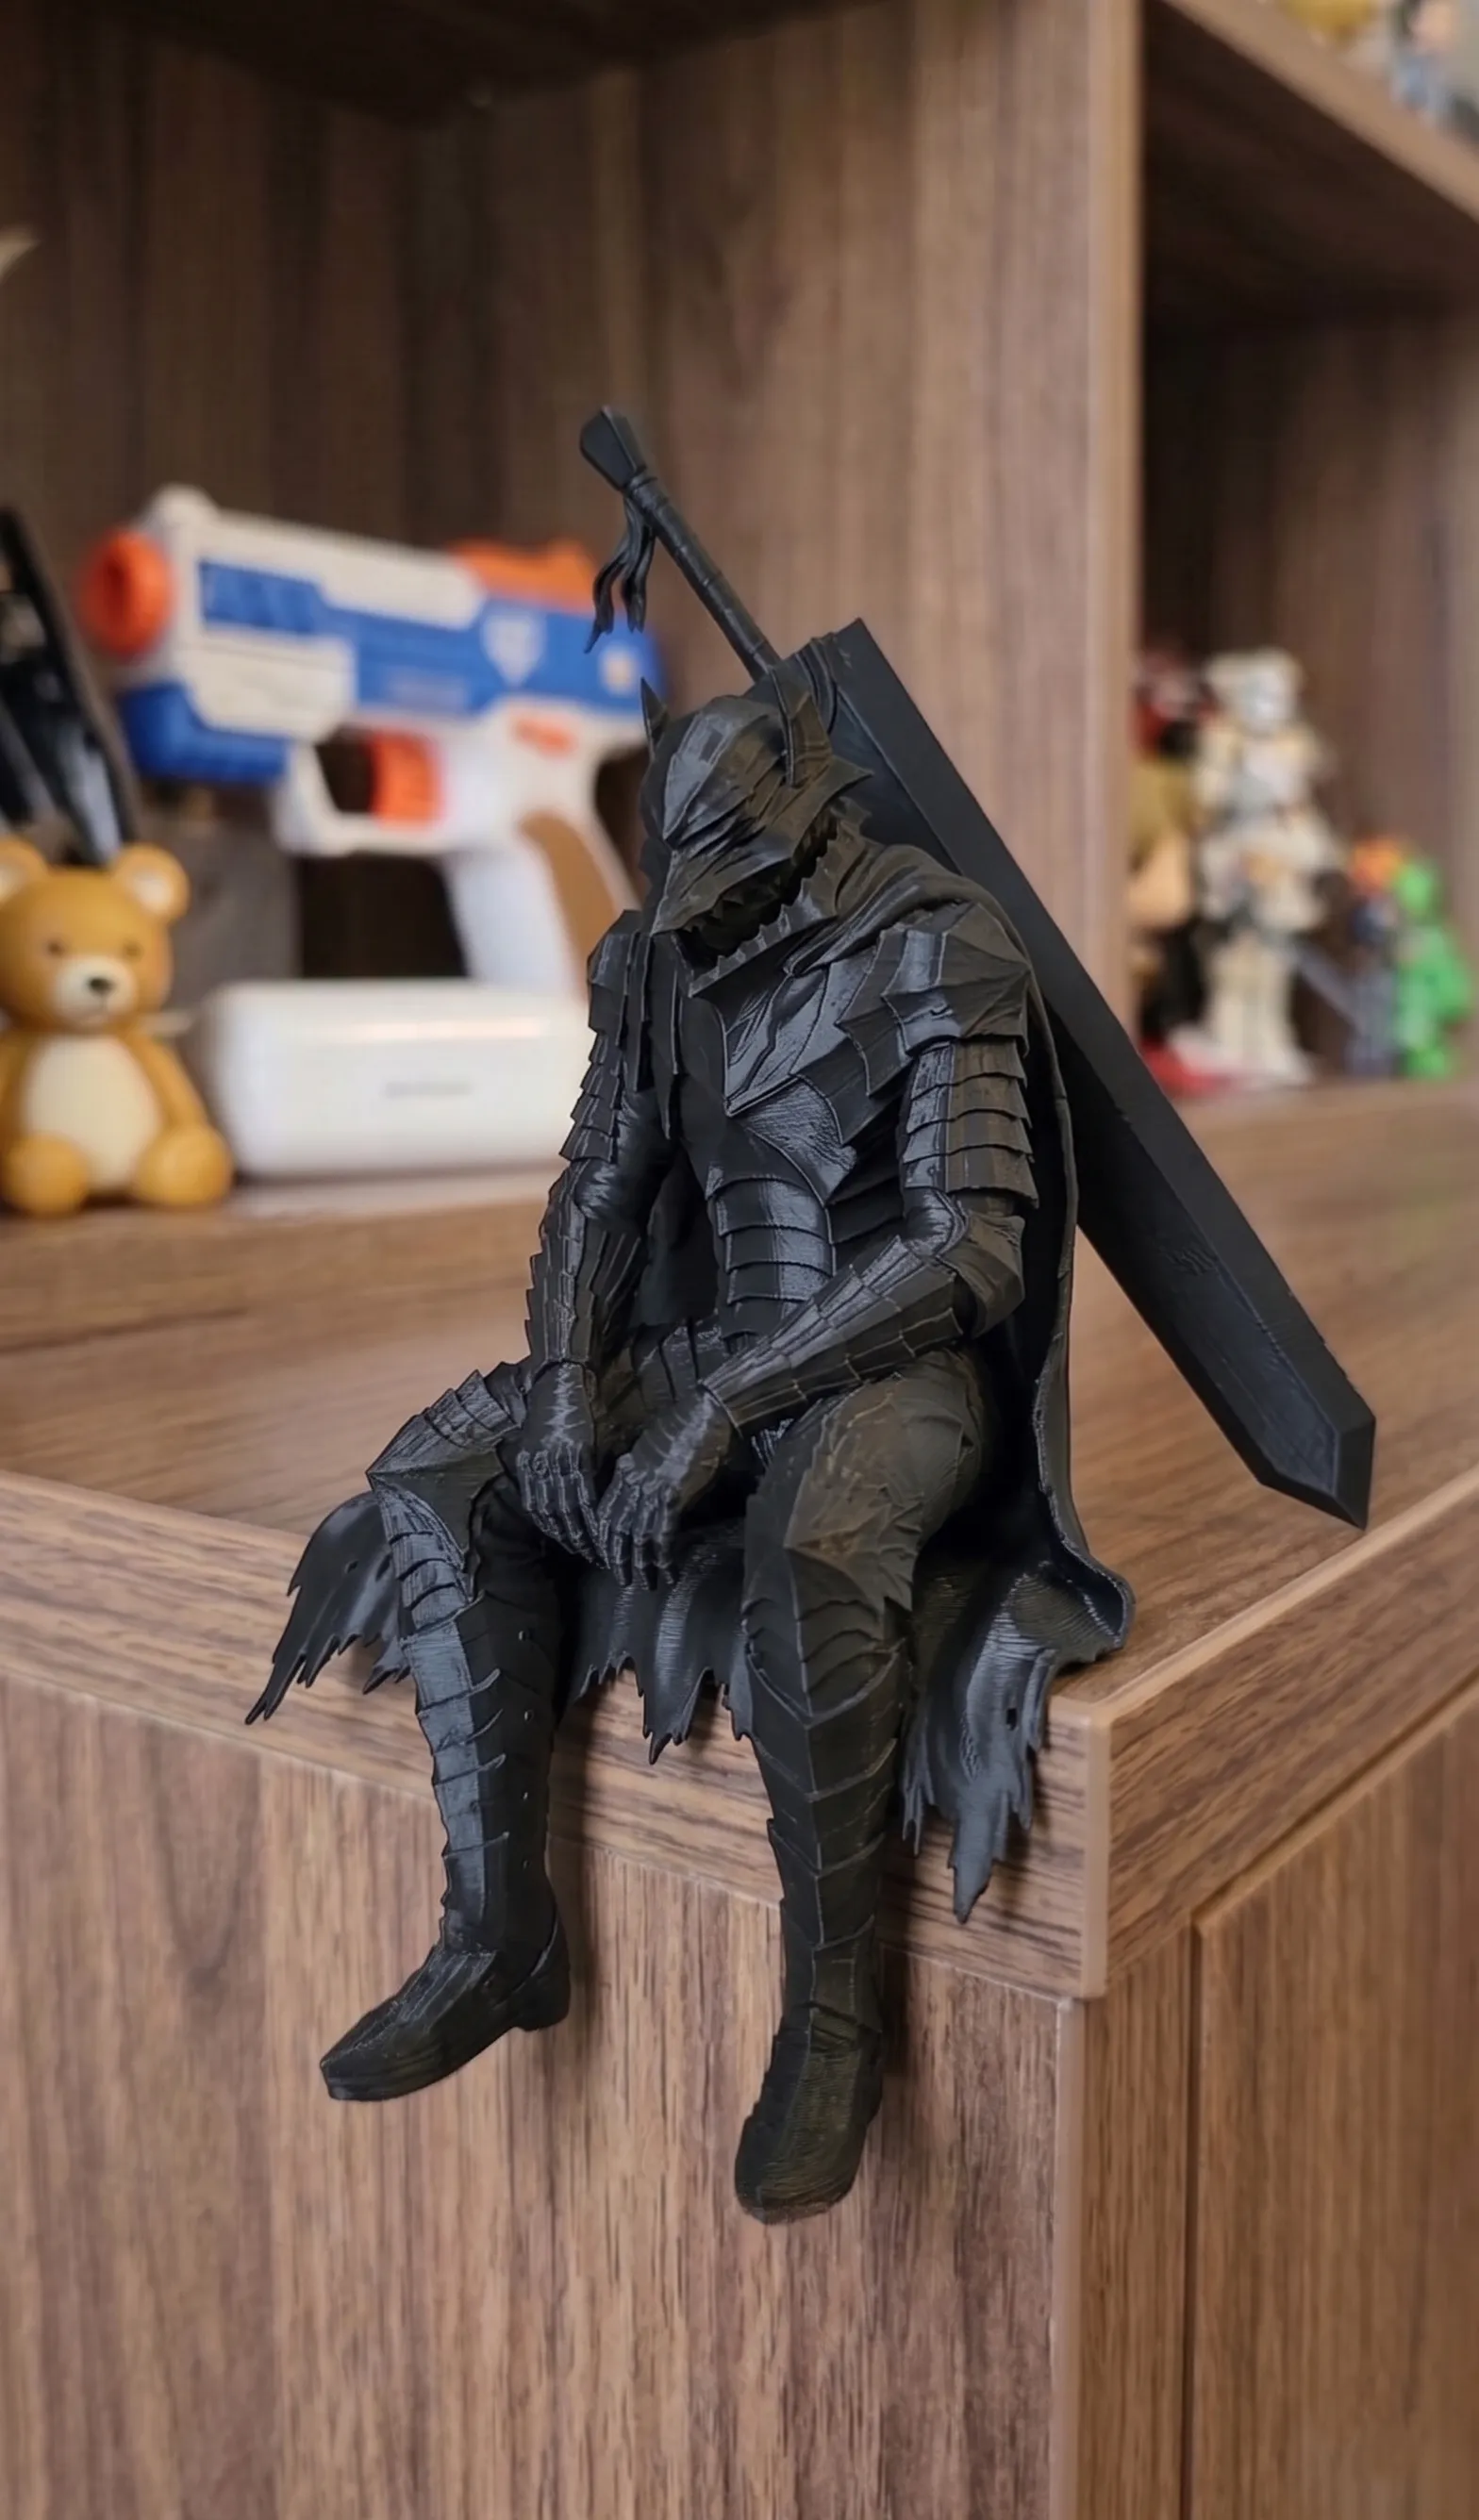
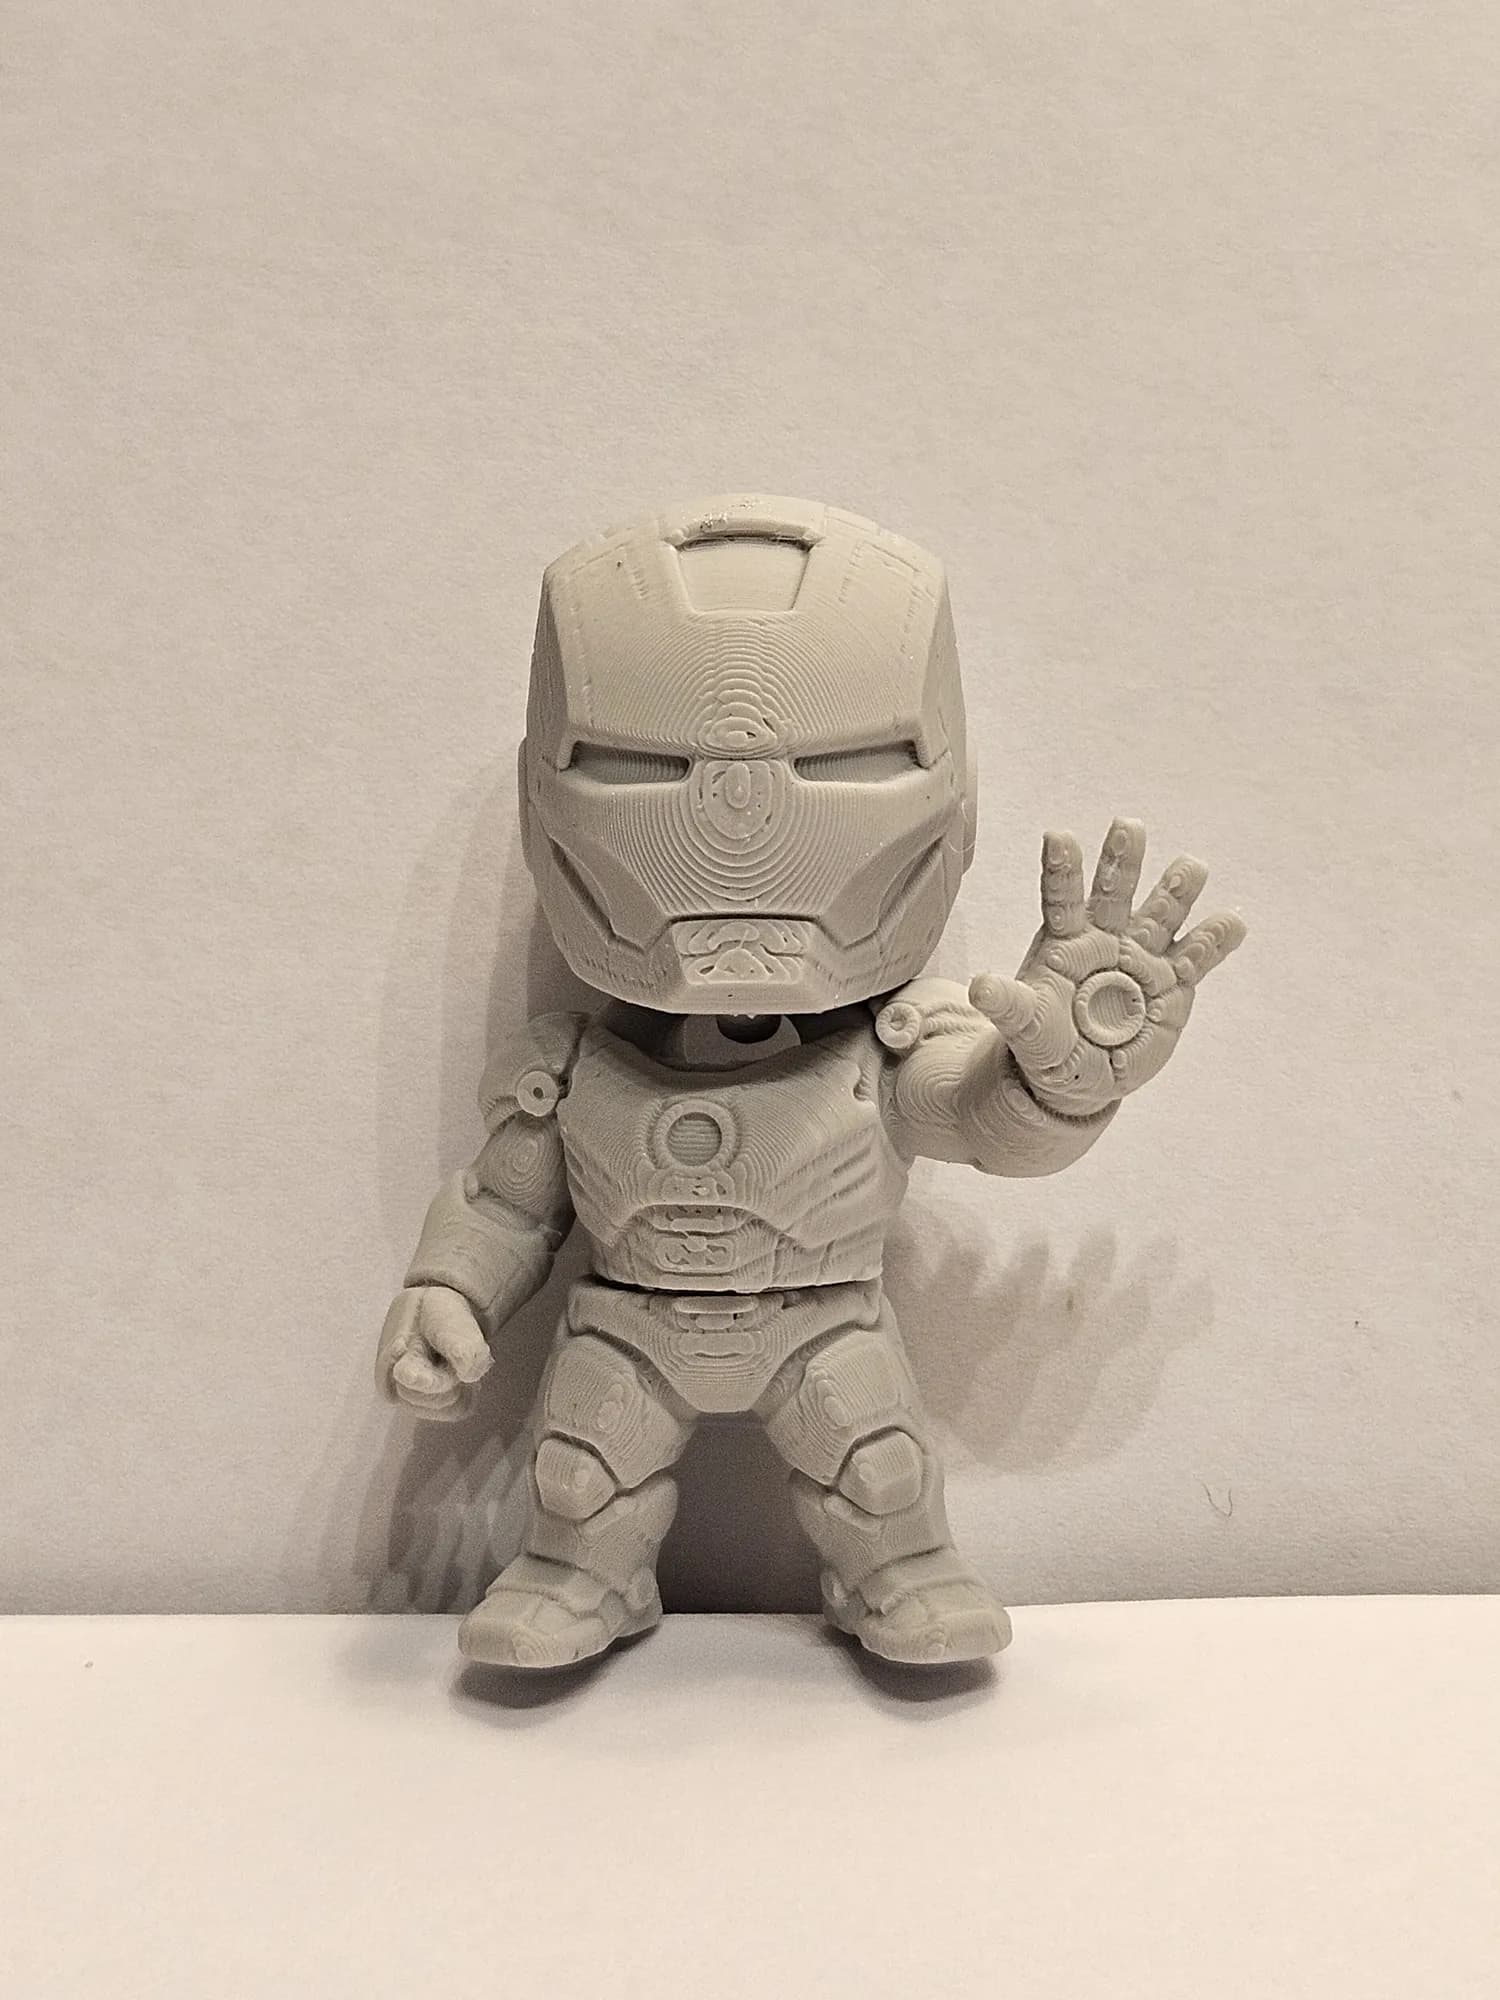
Start small and simple. Minis like the Mini Flexi Armour Figure or the Articulated Robot have clear shapes and big panels, which makes base coating straightforward. Save detailed pieces with lots of cloth and faces for your third or fourth attempt.
Frequently asked questions
What paint should I use on 3D printed PLA?
Acrylic paint over a spray primer. Hobby acrylics made for miniatures are ideal, but artist acrylics work well. Always prime first, because acrylic applied directly to PLA tends to peel.
Do I need to sand a 3D print before painting?
Sand away support marks. Fully removing layer lines is optional. Filler primer and paint hide most of them, especially on finely printed figures.
How do I get rid of layer lines before painting?
Sand from 220 to 400 grit, spray filler primer, sand lightly with 800 grit, and prime again. Repeat once more for a completely smooth surface.
Can I use spray paint on a 3D print?
Yes. Spray primer and spray paint work well on PLA. Use light coats from 20–30 cm away and let each coat dry before the next.