How does a 3D printer work? FDM printing explained, layer by layer
A plain-English explanation of how an FDM 3D printer turns a spool of plastic into a finished figure — slicing, the nozzle, layers, supports and the hand finishing that happens after.
On this page
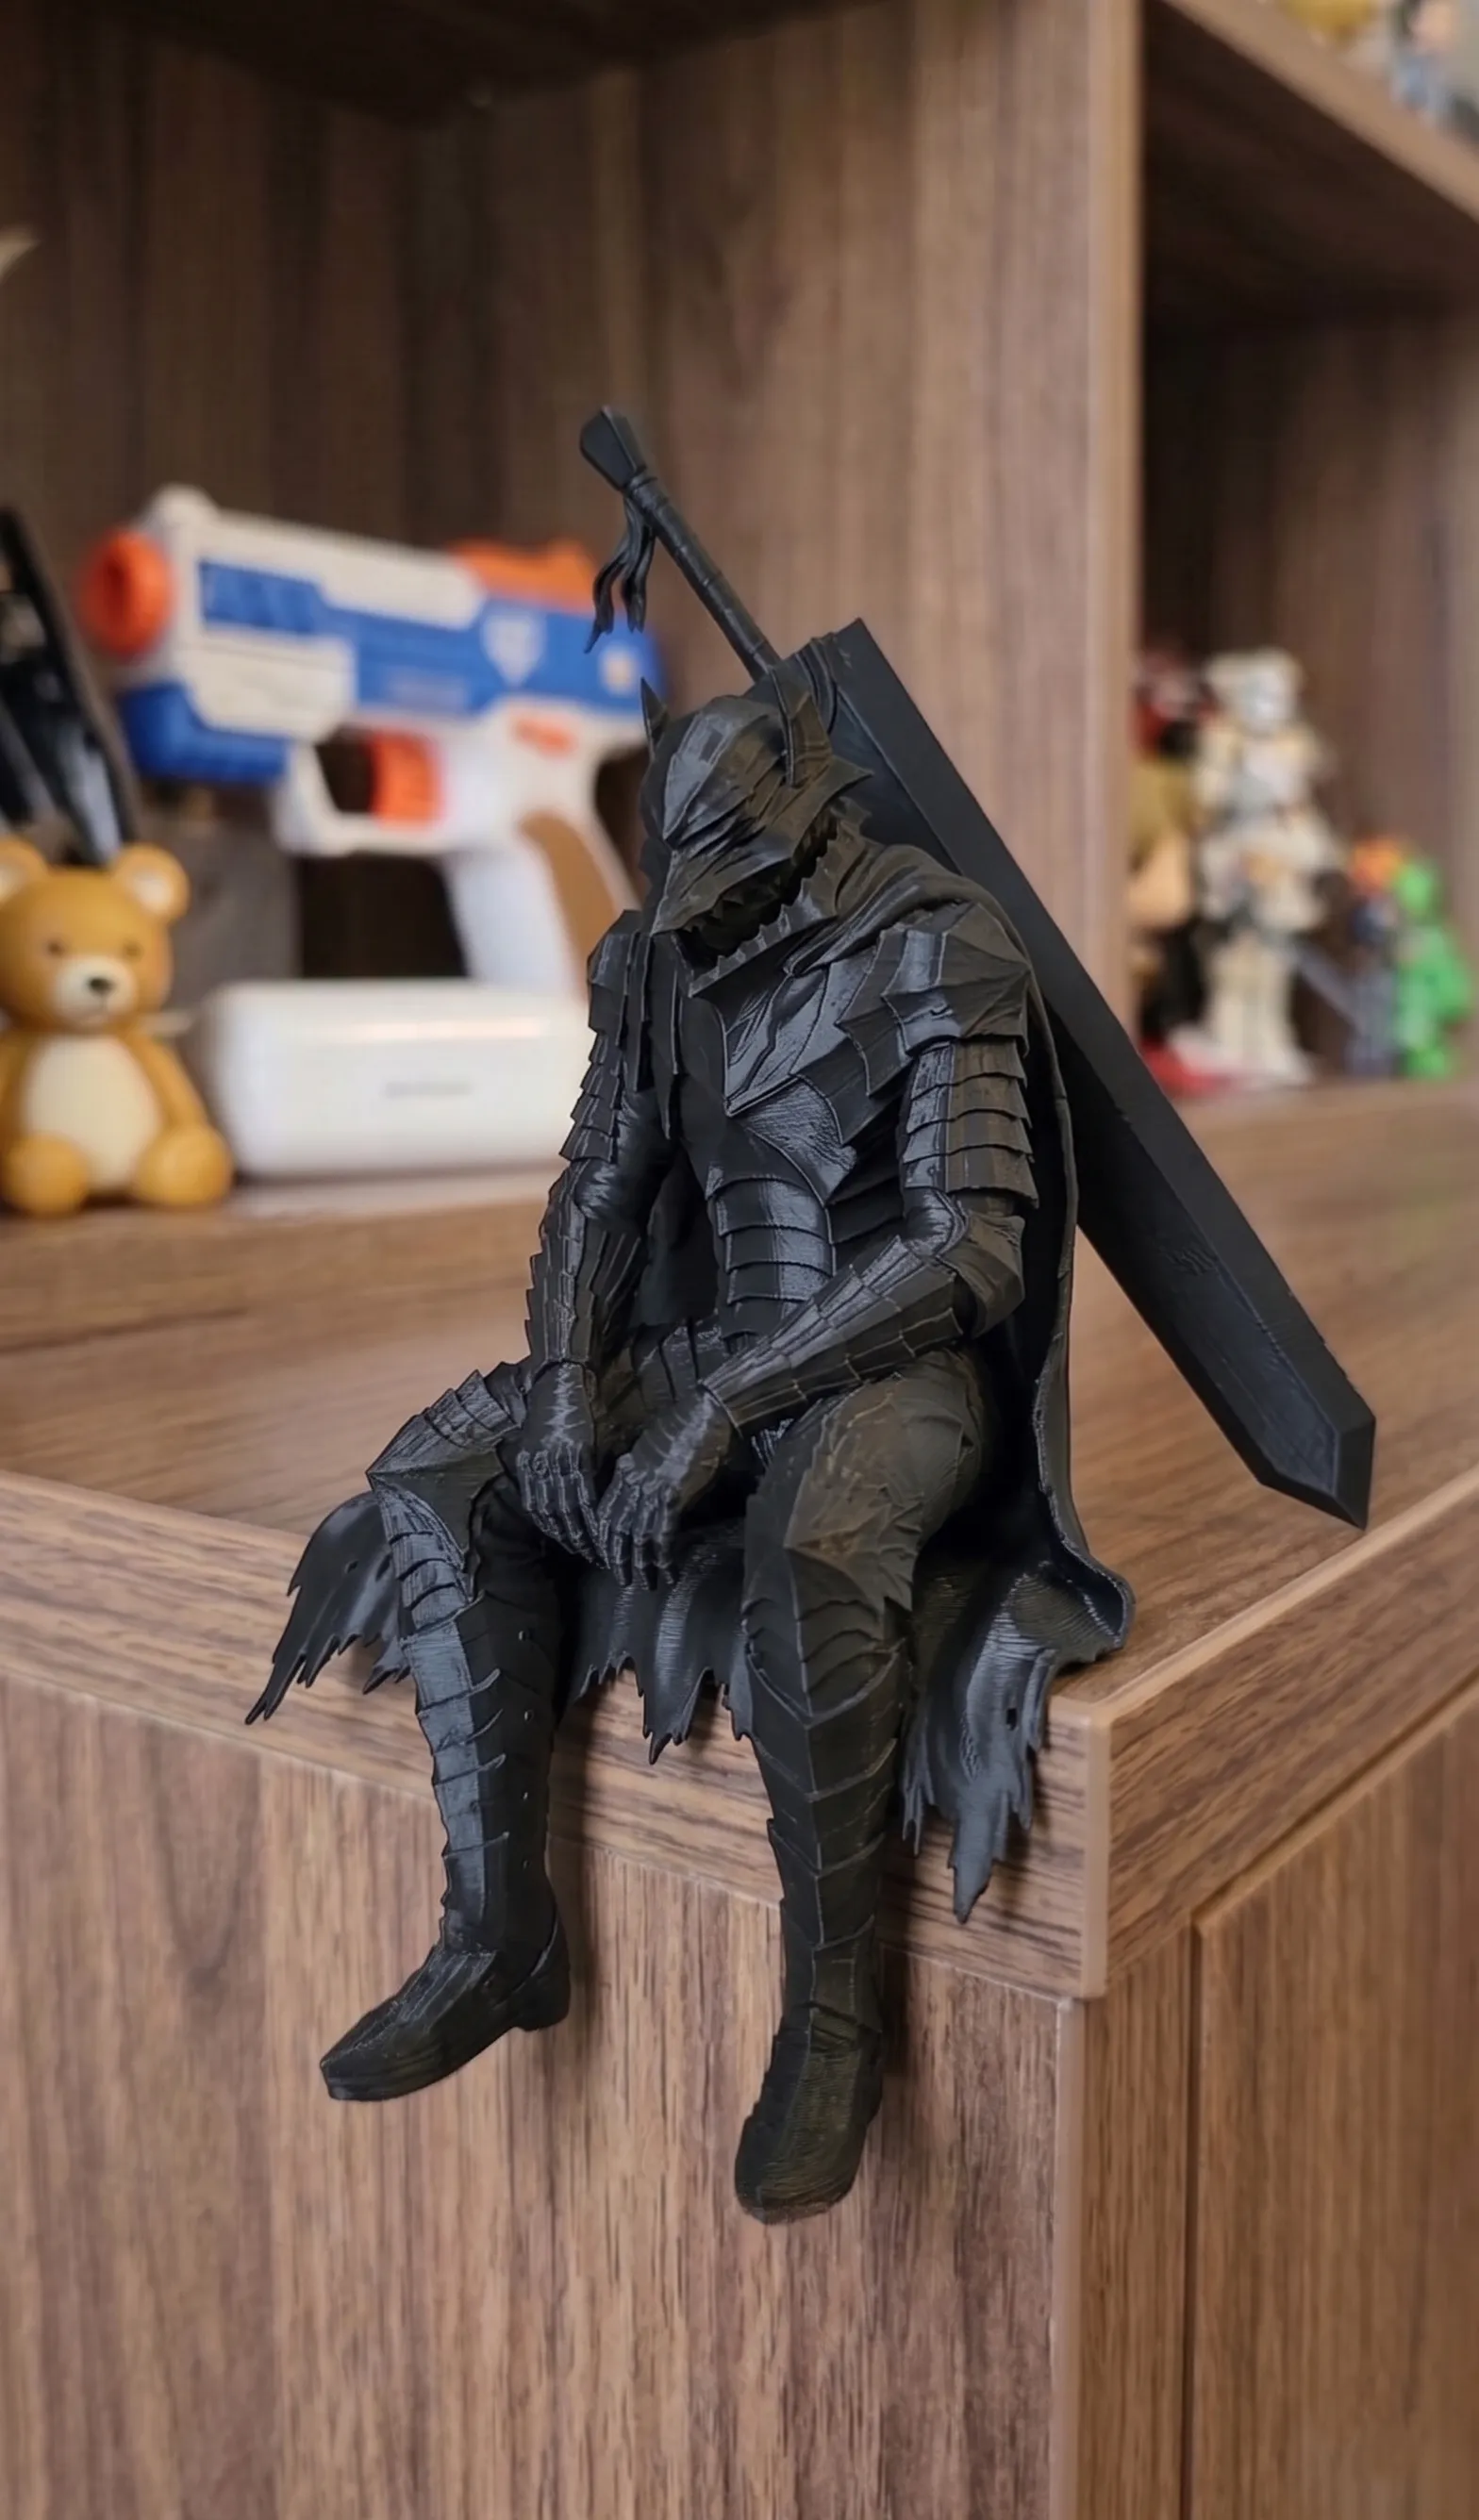
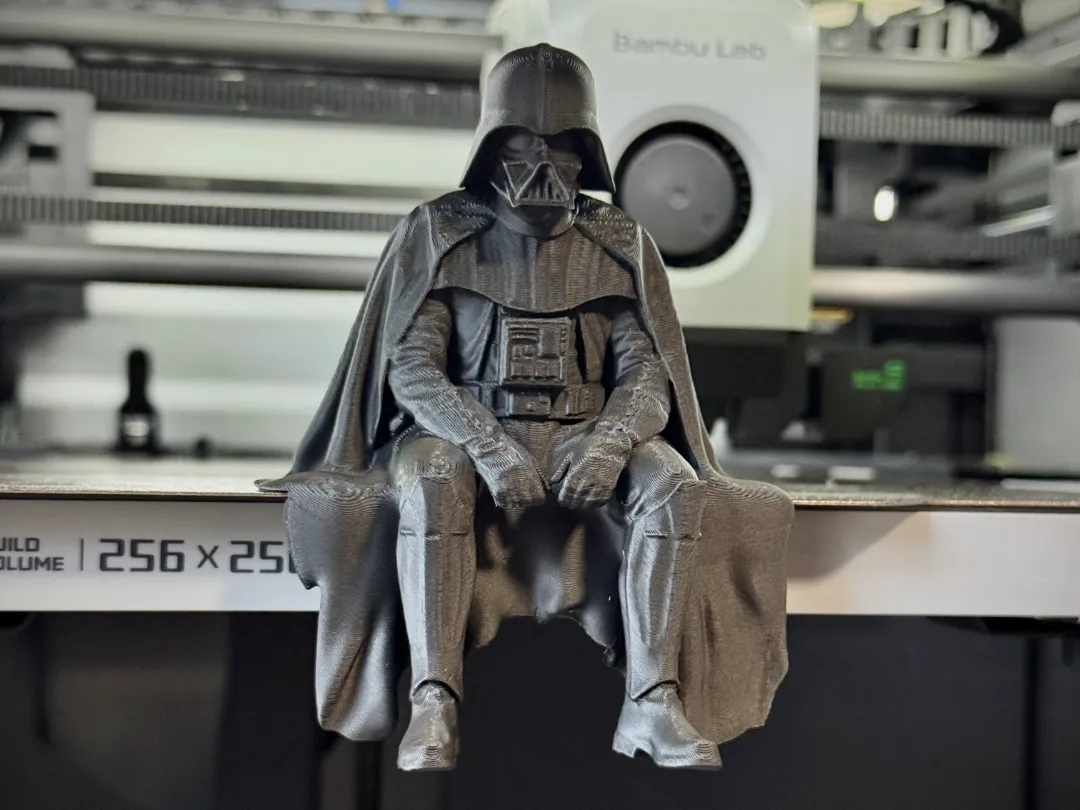
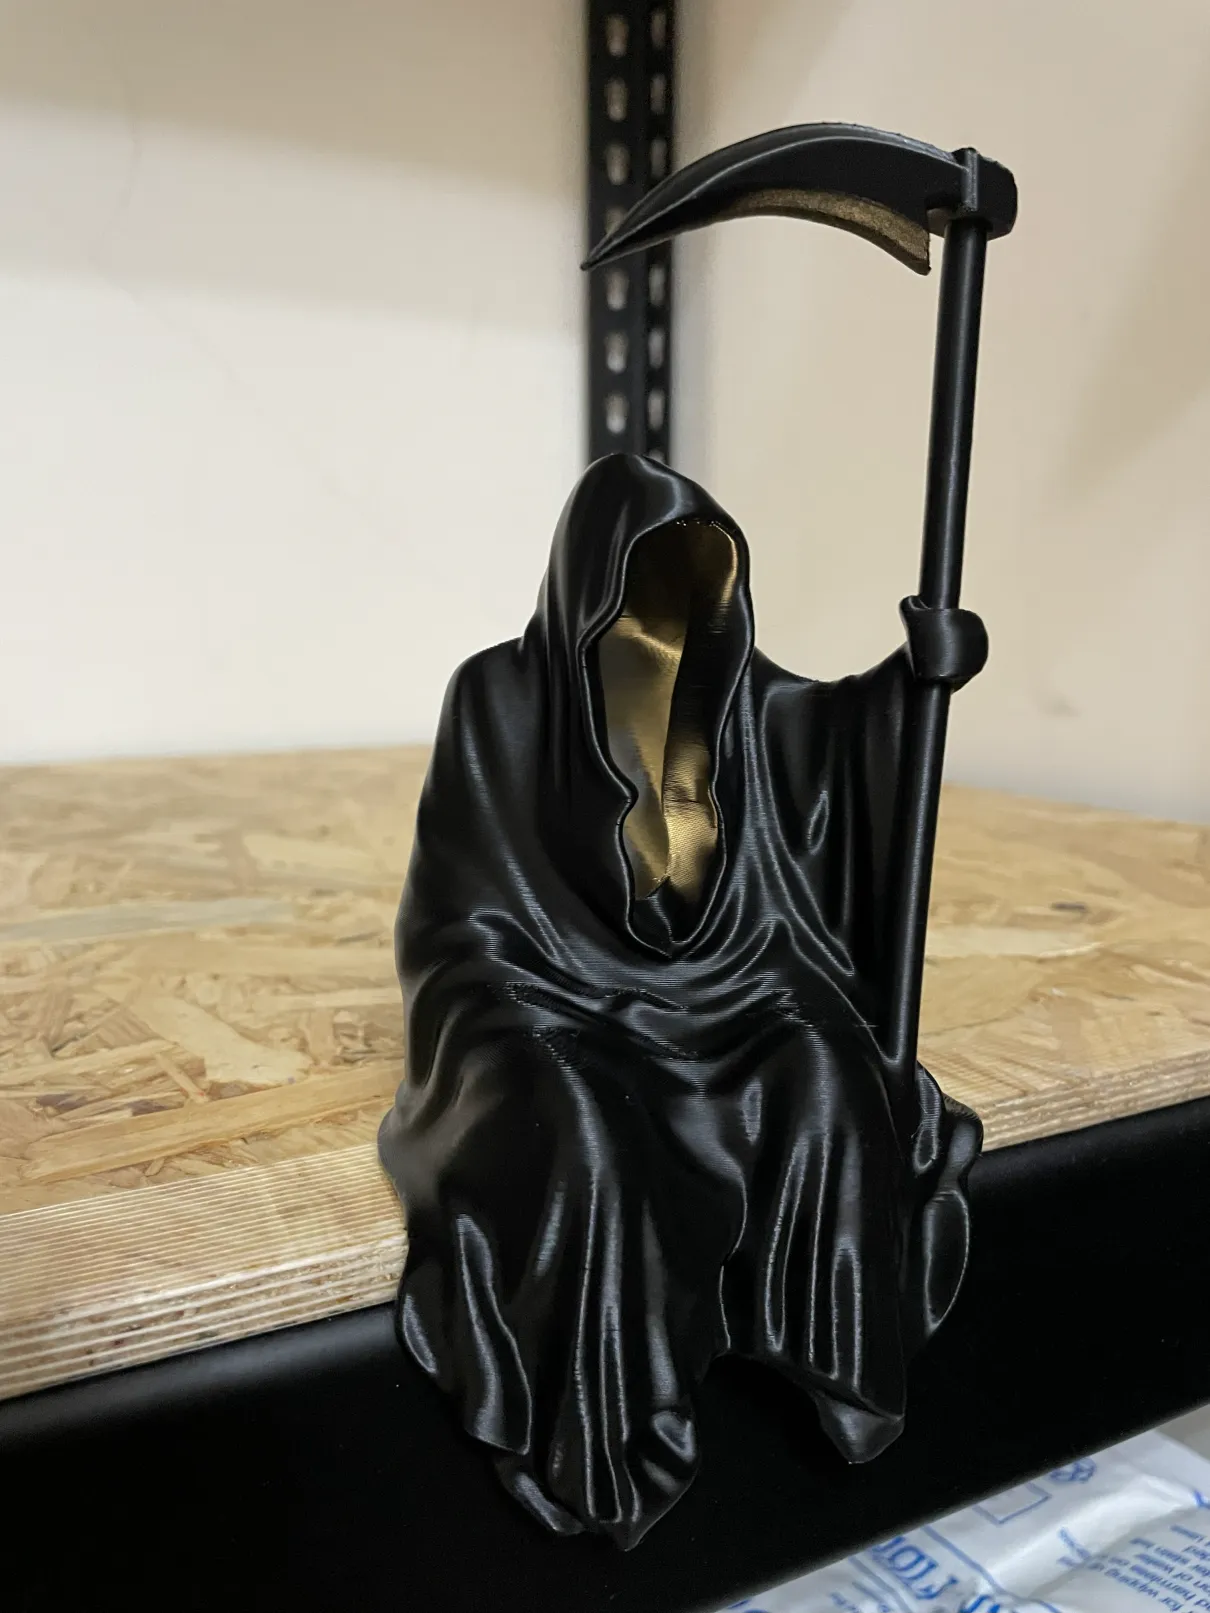
Every figure on our shelf started as a spool of plastic about the thickness of a thick guitar string. A few hours later it is a seated knight or a skeleton on its tea break. This is how that happens.
The machines we use work by fused filament fabrication, or FDM/FFF. It is the most common kind of 3D printing in the world, and the one the open-source RepRap project helped make affordable in the late 2000s.
Step 1: A 3D model
It starts with a digital 3D model: a mesh of thousands of tiny triangles that describe the outside surface of the object. For figures, that model is usually sculpted by a digital artist. It is saved as an STL or 3MF file.
The model has to be watertight. The surface must fully enclose a volume with no holes, or the printer cannot tell the inside from the outside.
Step 2: Slicing
A printer cannot read a 3D model directly. Software called a slicer cuts the model into hundreds or thousands of horizontal layers, each a fraction of a millimetre thick. For each layer it works out:
- the outline: the outer walls you actually see
- the infill: a lightweight internal lattice that gives strength without filling the part solid
- the supports: temporary scaffolding under anything that overhangs, like an outstretched arm or the brim of a hat
The slicer then writes all of that as a long list of movement instructions called G-code. A figure can easily run to several hundred thousand lines.
This is also where the main quality decision is made: layer height. Thinner layers mean smoother surfaces and much longer print times. We explain the trade-off in layer height explained.
Step 3: Melting and drawing
The printer feeds filament into a heated nozzle. For PLA that's around 200–220°C. The plastic melts, and the printer pushes it out through an opening about 0.4 mm wide while moving the nozzle in precise paths.
Think of a very steady hand drawing with a hot glue gun, one thin line at a time.
The first layer is drawn directly onto a heated build plate. When it's done, the plate drops (or the nozzle rises) by one layer height, and the next layer is drawn on top. The fresh plastic fuses to the layer below while it's still warm.
Repeat that about 1,000 times and you have a figure.
Step 4: Cooling and overhangs
Plastic coming out of the nozzle is soft. Fans cool it within a fraction of a second so the next layer has something solid to sit on.
Printers can build outward at an angle, up to about 45° from vertical, because each layer only sticks out slightly past the one below. Beyond that, the plastic would be drawn in mid-air, which is where supports come in.
Step 5: Supports come off, and the hand work starts
A printed figure does not come off the plate finished. Supports have to be snapped and cut away, and they leave small marks where they touched. This part is done by hand:
- 1.Supports are removed with flush cutters and a hobby knife.
- 2.Contact points are trimmed and sanded.
- 3.The seat and base are checked for flatness. It matters a lot for ledge sitters.
- 4.The piece is inspected under a bright light before it's packed.
This finishing is the difference between a figure that looks like a hobby print and one that looks like a product.
Some figures skip glue entirely: print-in-place figures come off the plate with working joints, and multi-colour figures are printed as coloured parts that press together.
Why FDM for figures?
Resin printers can produce finer detail, but resin parts are more brittle, the chemicals need careful handling, and larger pieces are expensive. For desk and shelf figures seen from arm's length, well-tuned FDM at fine layer heights gives a sharp result that's tough enough to survive being knocked off a shelf.
We print in PLA and PETG: PLA for most display pieces because it holds detail beautifully, PETG where toughness or heat resistance matters more.
Frequently asked questions
How long does it take to 3D print a figure?
Most of our figures take between one and six hours on the machine, plus hand finishing. Larger pieces with fine layers can run overnight.
What is the plastic in a 3D printed figure?
Usually PLA (polylactic acid), a plastic made from plant starches such as corn or sugarcane. Some functional pieces use PETG, a tougher, more heat-resistant plastic.
Why can I see lines on a 3D printed object?
Those are the layers. Each one is a fraction of a millimetre tall. At fine layer heights they almost vanish at arm's length, but under close light you can still see the texture, which is part of the character of a printed piece.
Is a 3D printed figure solid inside?
No. It has solid outer walls and a lightweight internal lattice called infill. That makes it strong and light, and it uses less plastic.